Combolands is a single-player roguelike citybuilder in which you pick two guilds, place buildings on a procedural island, and turn spatial effects into cascading score combos. A typical run is presented by the developer as a satisfying 30-minute burst. The safest learning order is: understand placement, learn what your chosen guild pools offer, then use upgrades, potions, heirlooms and councillors to reinforce the plan already visible on the board.
Evidence status: verified overview. System totals and the core loop come from the official Steam page; individual effects should still be checked in the current game build.
The core run loop
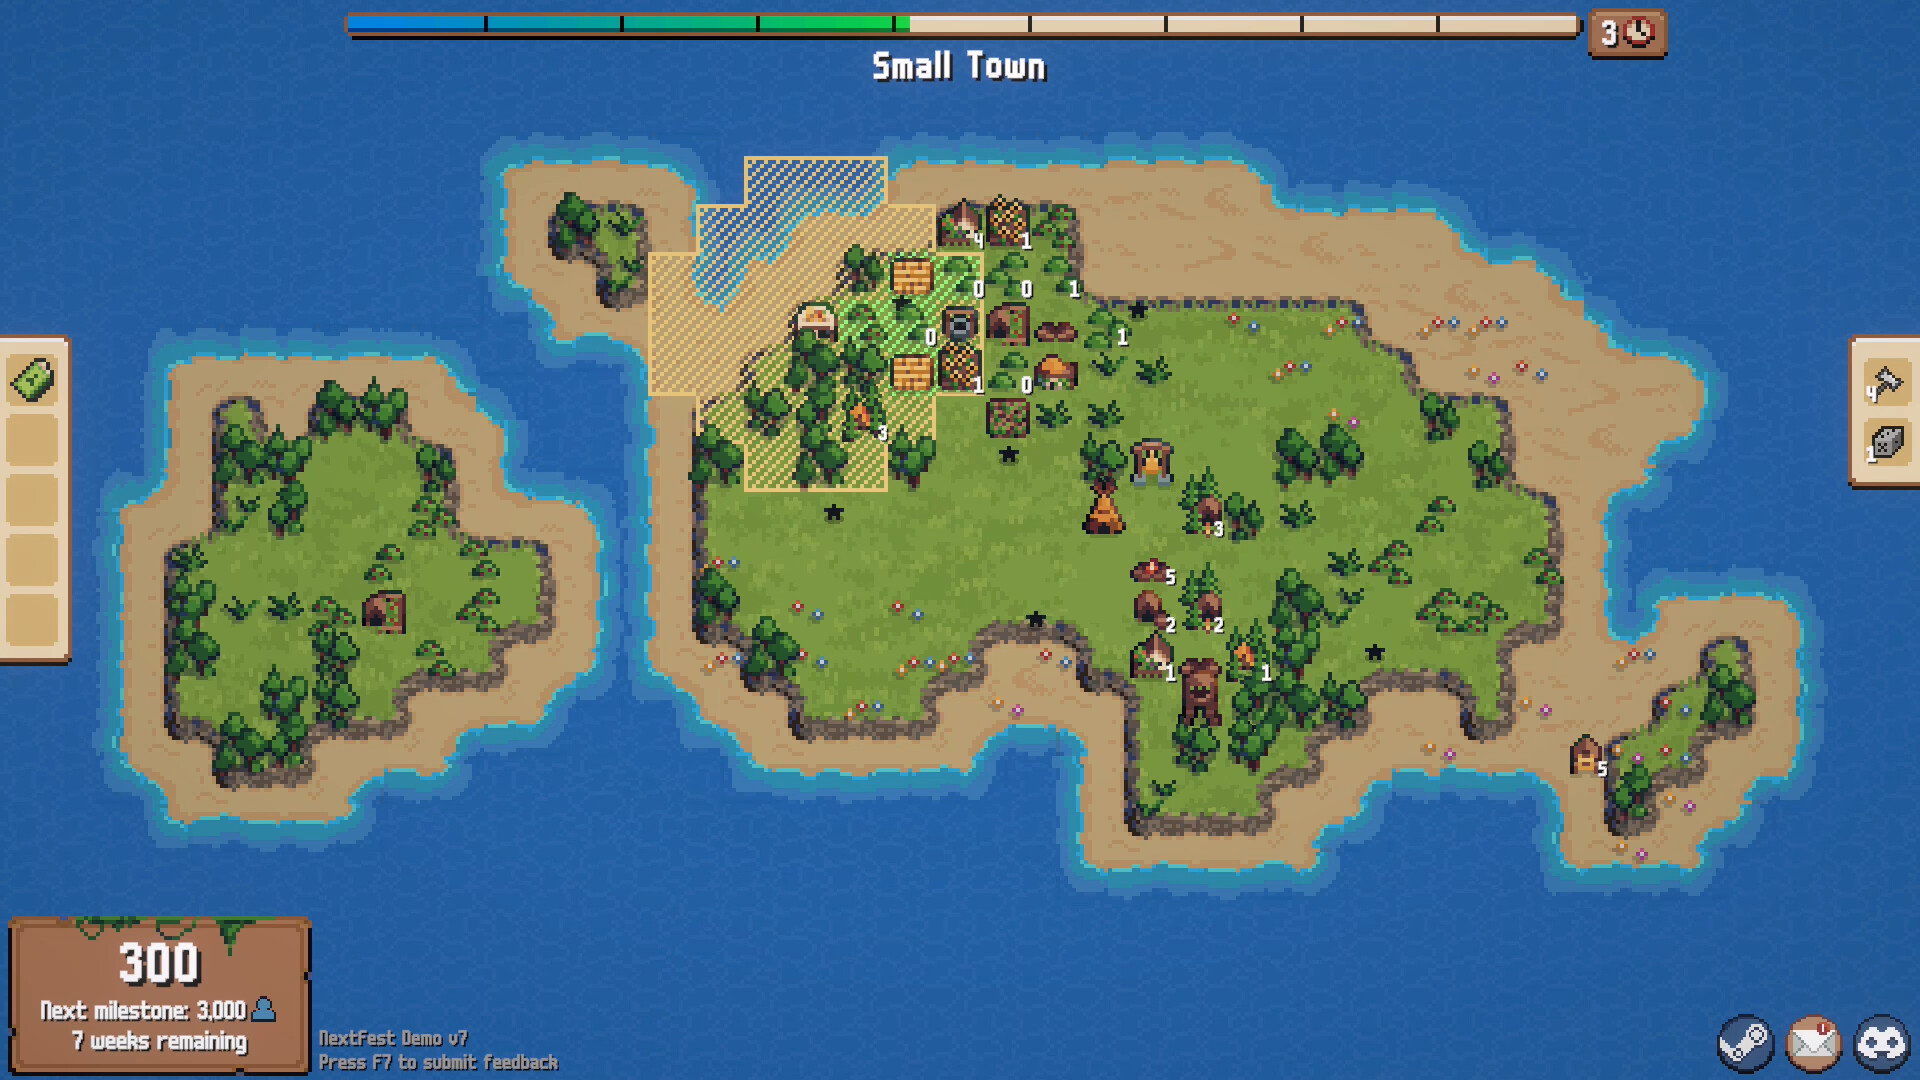
Every run begins with a fresh procedural map and a choice of two different guilds. Those guilds shape the buildings and interactions available during that run, while the island changes the amount and arrangement of useful space. You place buildings, read their triggers, pursue score chains and grow a small settlement into a larger city.
Buildings are more than isolated score cards. The official description emphasizes powerful synergies and cascading combos, so each placement should be judged both for its immediate return and for what it enables later. Upgrades can alter building behavior, while potions can alter the map itself.
Pick two guilds with a purpose
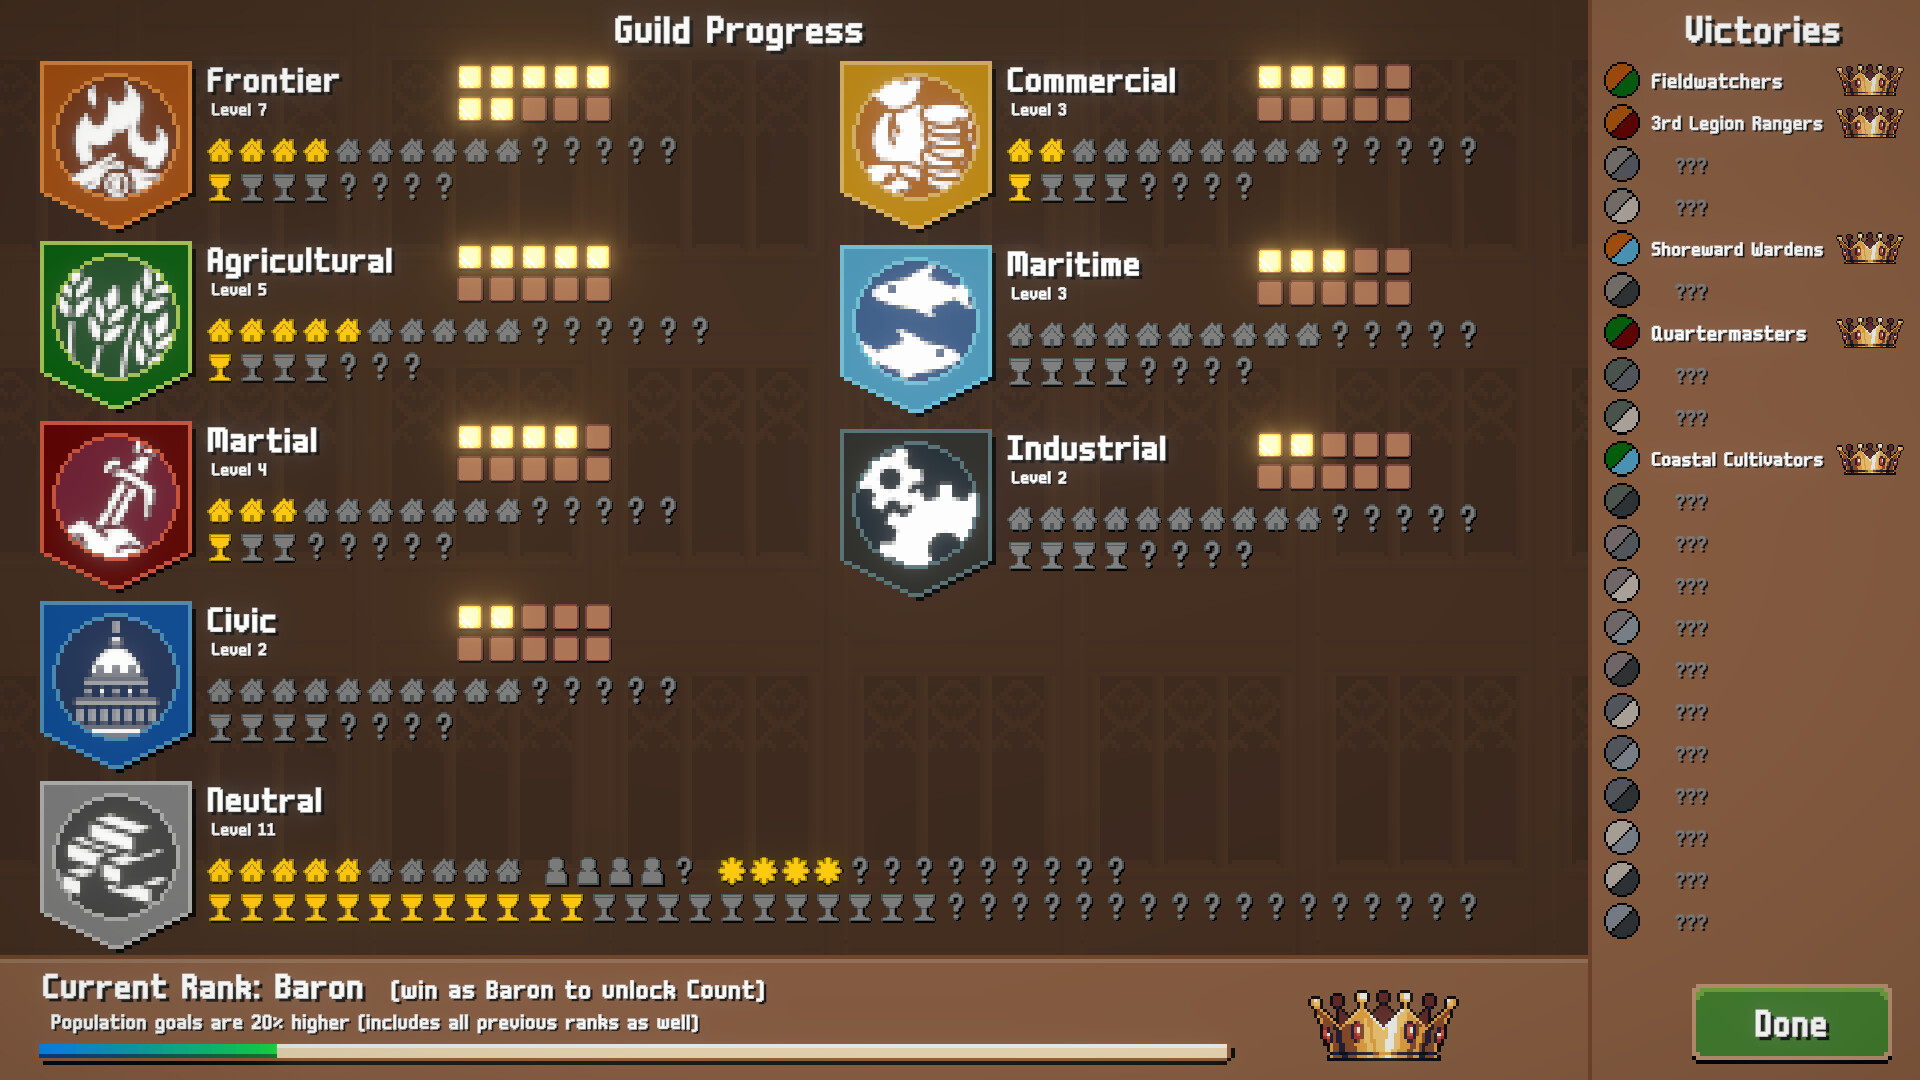
The game has seven confirmed guilds and therefore 21 possible two-guild pairings. The confirmed names are Agricultural, Frontier, Martial, Commercial, Civic, Industrial and Maritime, as shown by the official achievement set. Public sources do not yet provide a complete, current building pool and passive tree for every guild.
Avoid treating a single video or launch-week opinion as a universal meta. Instead, compare what your two current pools ask you to do: which spaces they value, which triggers appear repeatable, and whether both compete for the same limited terrain. The guild overview records what is confirmed, while the combination guide gives a non-ranking evaluation method.
Place for the next trigger
Because maps are procedural, a fixed opening cannot be guaranteed on every island. Before committing a building, inspect usable terrain, existing trigger ranges and the space a later chain might need. A placement that scores slightly less now may be more valuable when it leaves multiple future connections open.
Version 1.0.4 matters here because the official patch notes fixed specific spatial and trigger behavior, including Plateau restrictions and interactions involving Stockpile, Sawmill and Manufacturer. If a preview or trigger appears inconsistent, first compare the current build with the latest patch notes. Do not preserve a workaround that was only useful for a fixed bug.
Use progression systems as support
The official page confirms more than 100 passive heirlooms, more than 13 councillors and ten increasingly challenging ranks. These systems broaden runs, but public material does not currently expose a trustworthy full database of every effect. Choose around the board and guild pairing you actually have, not around an invented universal list.
Council quests are alternative mini-goals that can give a run another direction. Milestone choices and unlocks also affect progression, yet exact thresholds and reward pools changed during development. Where this wiki cannot verify a release-build value, the relevant page labels it as待确认 rather than recycling Demo numbers.
A practical reading route
Start with the beginner guide, then read building placement and building combos. Once the board logic is familiar, use the guild, heirloom, councillor and rank pages as reference material. Finish with the achievement page if you want explicit long-term goals.
This site separates pages into Verified, Limited and Pending states. Verified means the core answer is supported by current official sources; Limited means the system exists but its complete data is unavailable; Pending means the keyword itself or the necessary testing is not confirmed. That distinction is part of the guide, not a decorative label.